I got a new phone today. Normally I wouldn't expect people to care, I didn't post on Facebook, but I'm telling here because I take all the pictures and video for this blog using my phone. Hopefully this will be an increase in the content quality. I could try to be sneaky and not tell you which phone I got but someone would just check the EXIF data on the pictures and I’m not about to strip that data every day. The new phone is a Sony Xperia Z1S, which is the third Sony Xperia phone I have owned.
Another
addition to the quality will be an included link which will give all the
previous posts for that project. This way if someone wants to watch a project
move from start to finish they can easily find the other posts relating to the
project.
The
final change to content will be the exclusion of journal page pictures. I still
write them by hand first but I’m not going to take a picture, crop the picture
then upload it each morning.
Enough
background.
----------
Several
solutions to the keeping the shafts tensed were explored but the simplest to
implement was to put elastic around the bottom of the shafts to bind them together. The ideas was that they would rotate synchronously
and the bearings would eliminate skew pressure. One rubber band was placed
around the shafts but the platen servo sprocket still skipped under the chain.
Three rubber bands were tested together but the resistance on the shafts was
excessive.

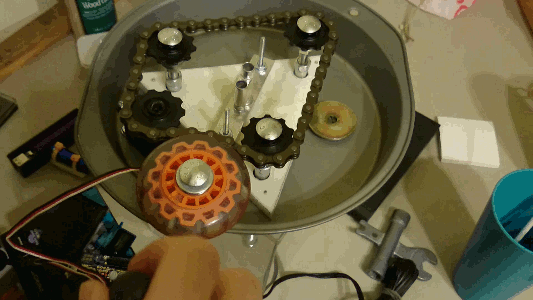
The bottom side of the printer

One untensed rubber band

The single rubber band installed

Three rubber bands layered
The sprocket skipping under the chain
The
most effective solution was to move the tensioning wheel, the in-line skating
wheel, next to the platen servo sprocket. Even light pressure keeps the chain
snuggly on the sprocket. A hole was marked for the new mounting point. This
eliminates an expensive magnet from the cost list and increases functionality.

Location of tensioning wheel
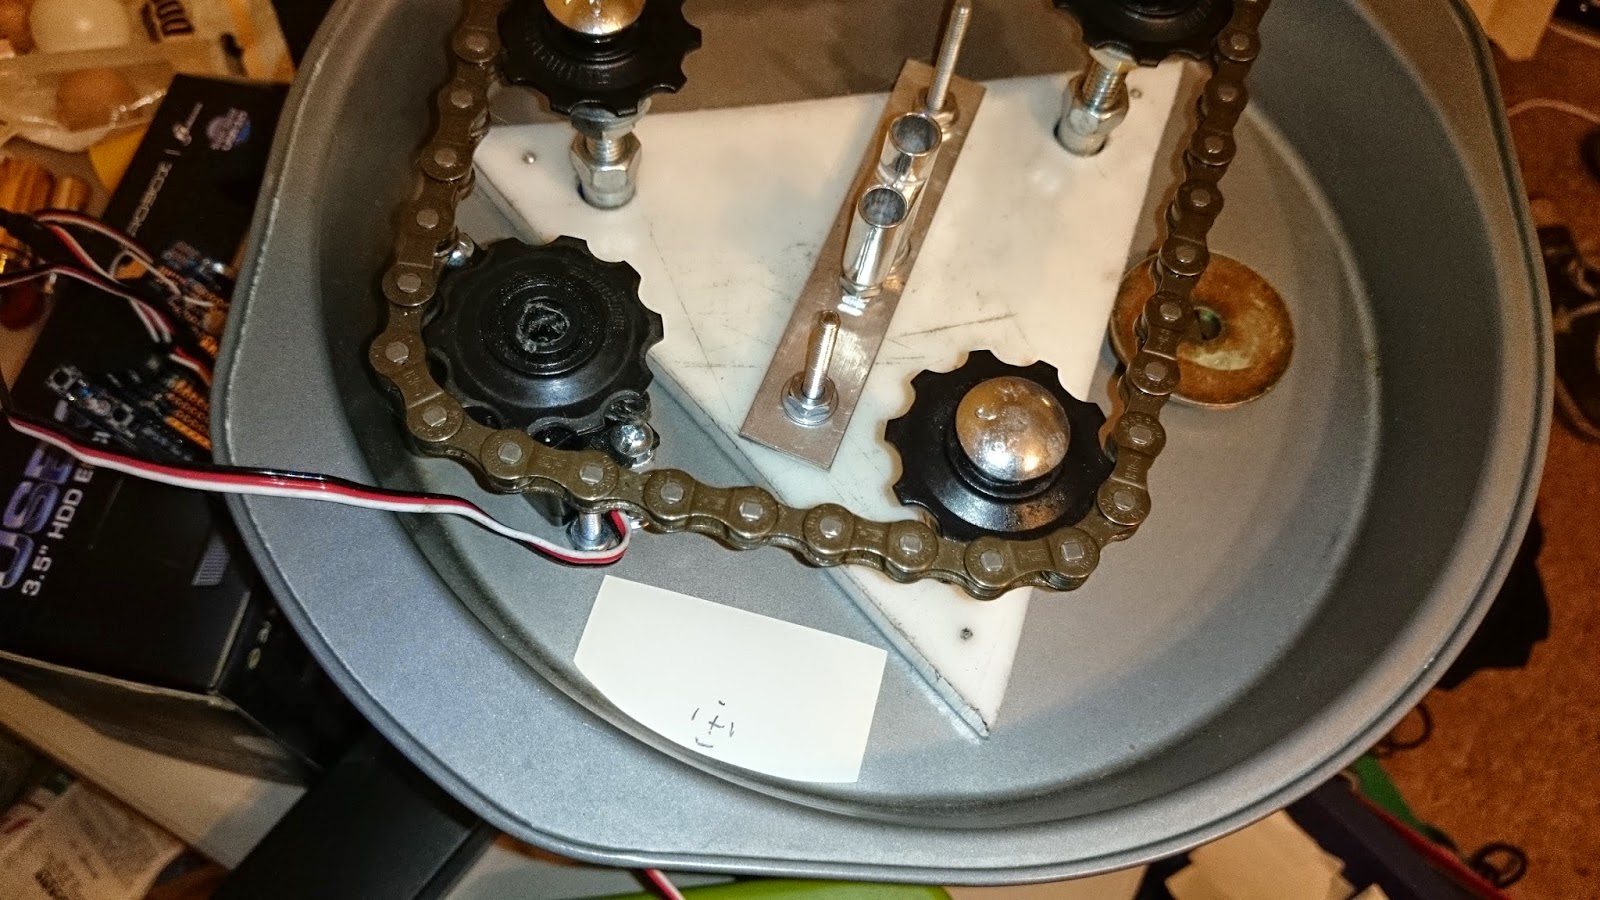
Marked hole for tensioning wheel

Shafts with two rubber bands
Tensioning wheel arranged to hold the chain on the sprocket
To
do:
- Program with the new specs and air pump output
- Drill hole for mounting tensioning wheel
- Physically install Arduino + shield
- Test + Debug
- Revise documentation
Comments
Post a Comment